Configuration
Configure the application, database, TLS, and initial administrator.
After adpki-install completes successfully, start the first-time configuration wizard:
sudo adpki-setup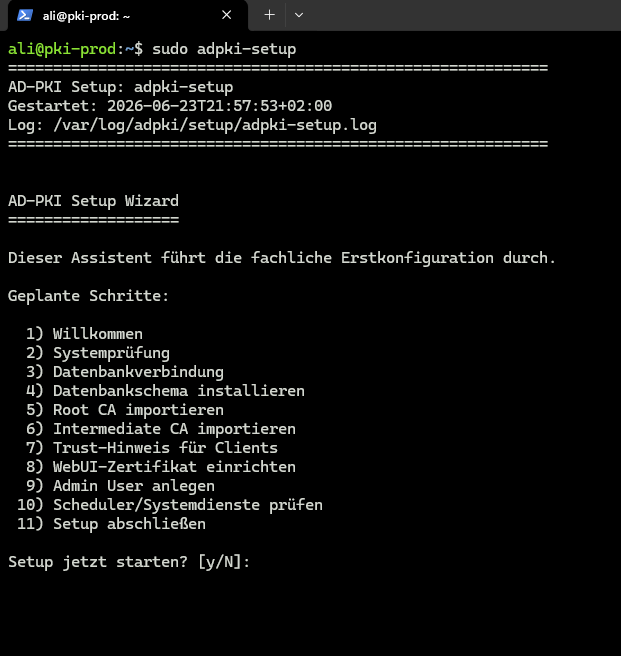
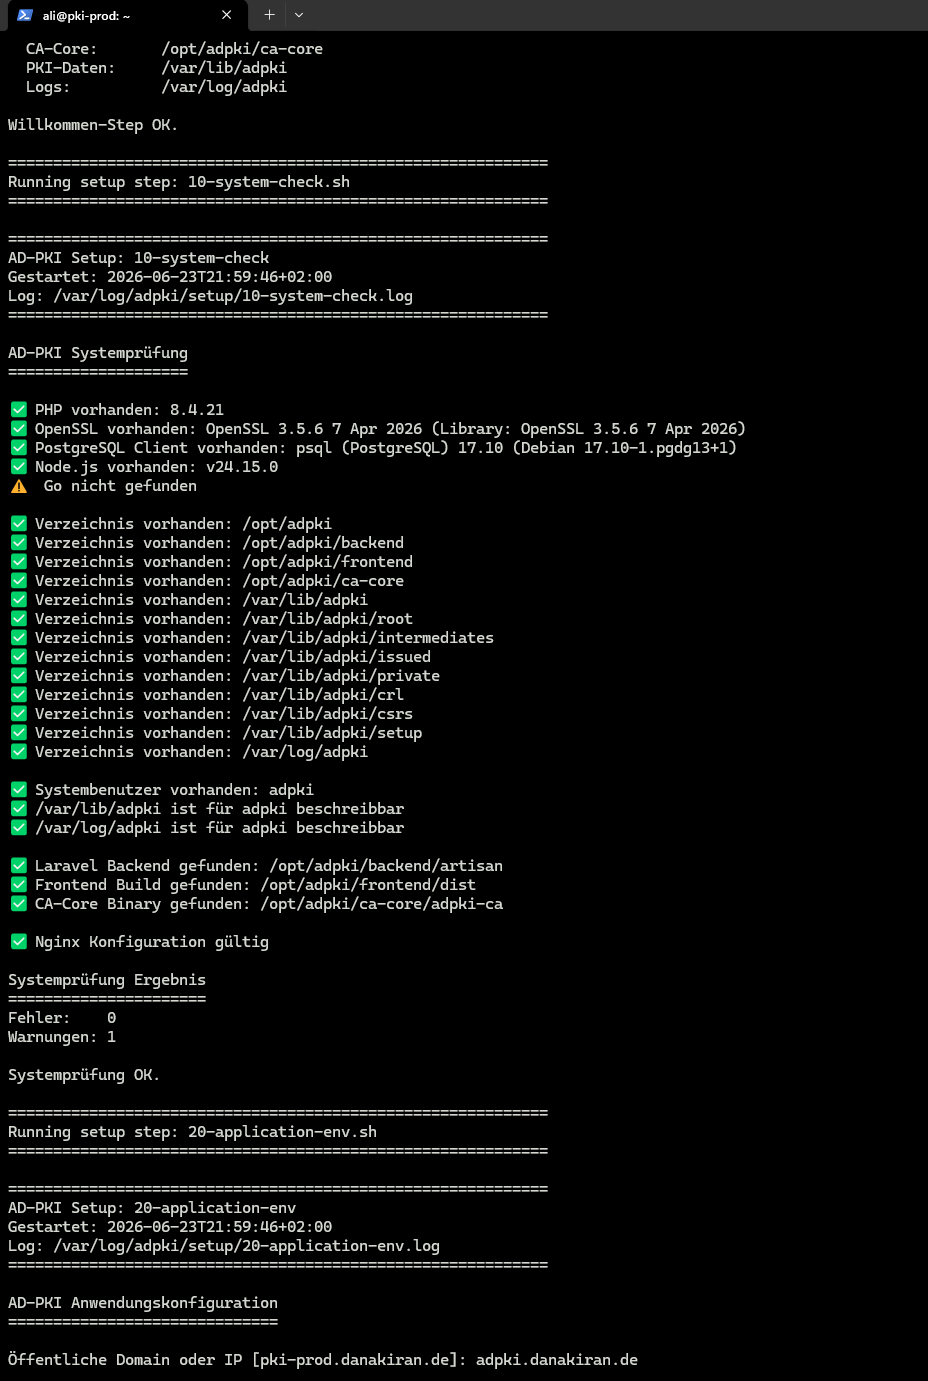
Enter y to proceed. The wizard first validates the system, directories, application payloads, and Nginx configuration.
Public hostname
Enter the public hostname or IP address without a URL scheme, for example pki.example.com. The wizard initially derives https://pki.example.com and writes the Backend, CA Core, and Frontend configuration.
Database connection
Setup uses the mode selected during adpki-install:
- Local: host
127.0.0.1, port5432, and databaseadpkiare fixed. You provide a role name and password; setup creates or updates the role and database. - Existing: you provide host, port, database, role, and password. The database and role must already exist.
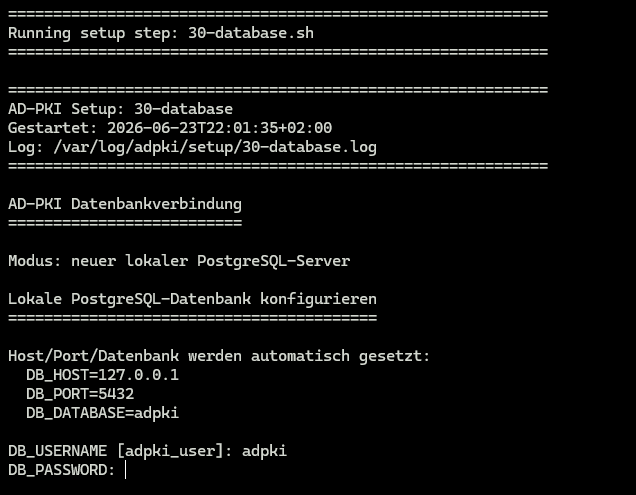
The wizard validates connectivity and CREATE/DROP privileges before running Laravel migrations and seeders.
Import the CA hierarchy
The wizard requires absolute paths to files already present on the server:
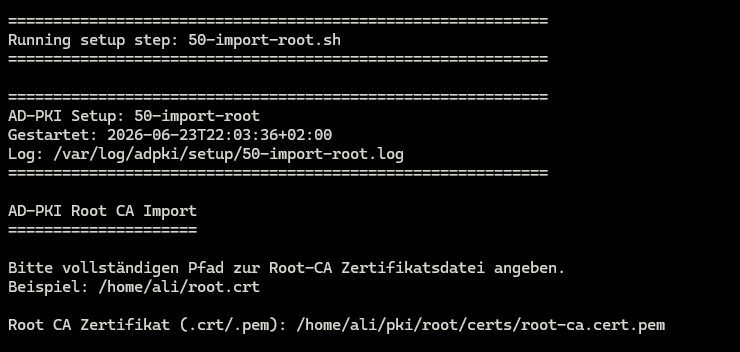
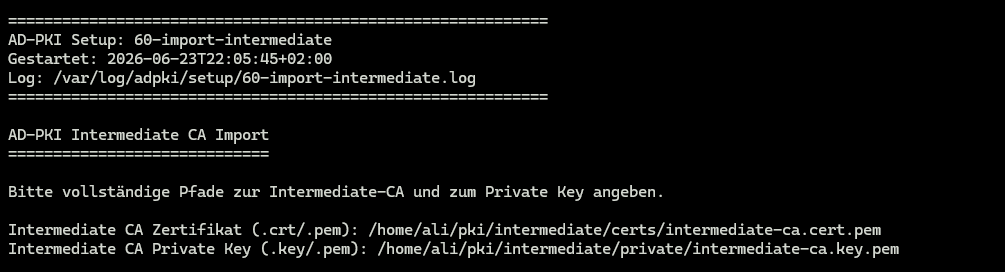
Required files:
- Root CA certificate (
.crtor.pem) - Intermediate CA certificate (
.crtor.pem) - Intermediate CA private key (
.keyor.pem)
Configure Web UI TLS
Setup requests the hostname, Certbot email address, and DNS resolver used for validation.
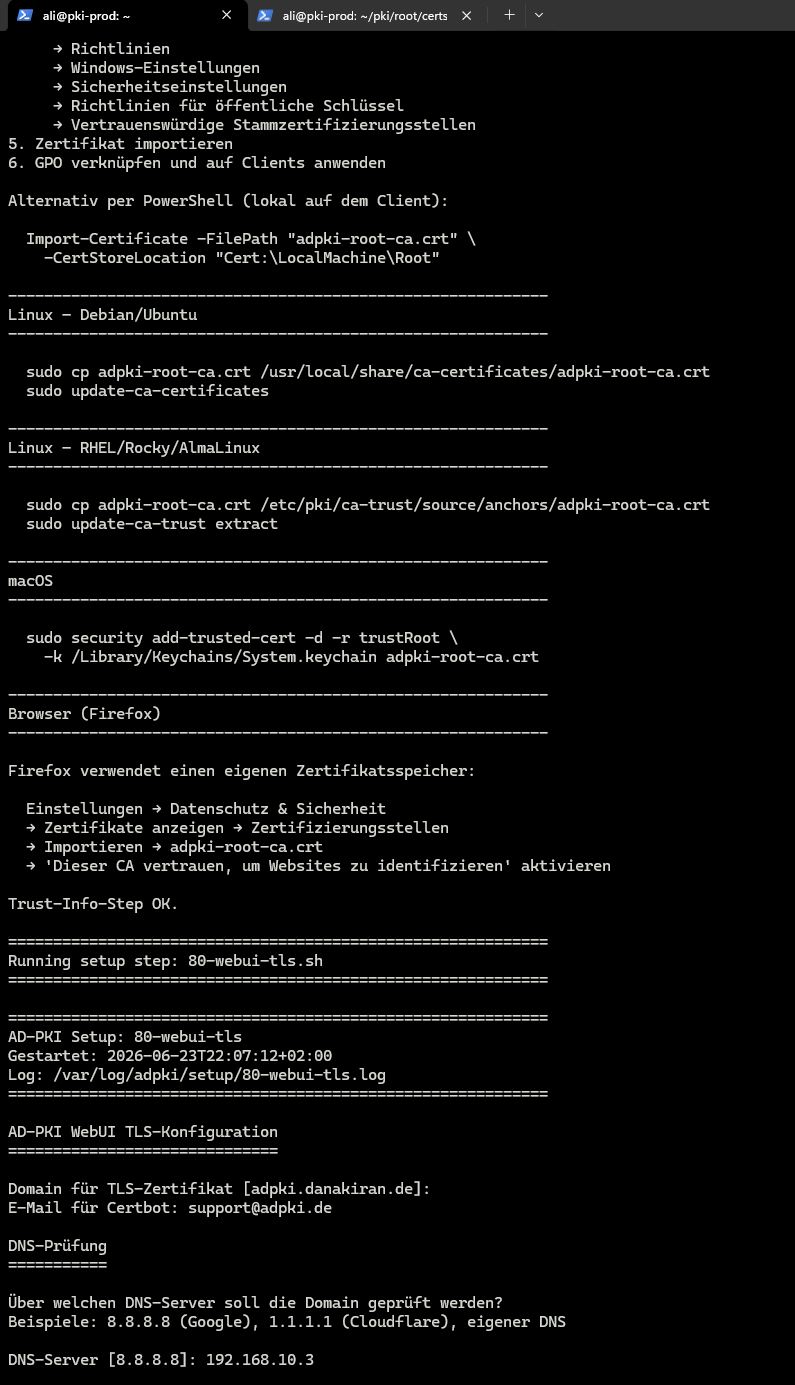
AD-PKI requests the Web UI certificate through its local ACME directory at http://127.0.0.1:8080/acme/directory. Nginx is stopped briefly for the HTTP-01 challenge. The wizard then installs the HTTPS configuration and enables certbot.timer.
Create the SuperAdmin
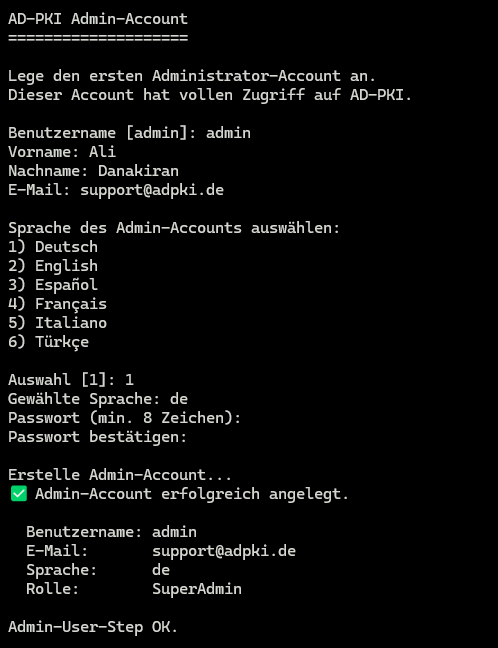
Provide username, first name, last name, email, preferred language, and a password of at least eight characters. The account is created with the SuperAdmin role.
After all service checks pass, the wizard displays the Web UI URL. Setup logs are stored below /var/log/adpki/setup/.